How to use the PaintCode plugin for Sketch
Download and install the plugin
First, download the PaintCode plugin for Sketch. To install the plugin:
- Make sure you have Sketch already installed on your Mac
- Simply double-click the downloaded PaintCode.sketchplugin file.
Using the plugin
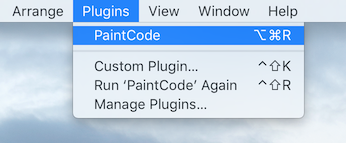
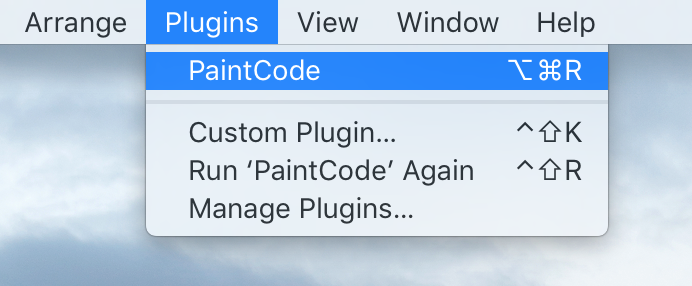
Open a Sketch document you want to export to Swift or Objective-C code. After successfully installing the PaintCode plugin in the previous step, there should be a "PaintCode" menu item under the "Plugins" application menu:
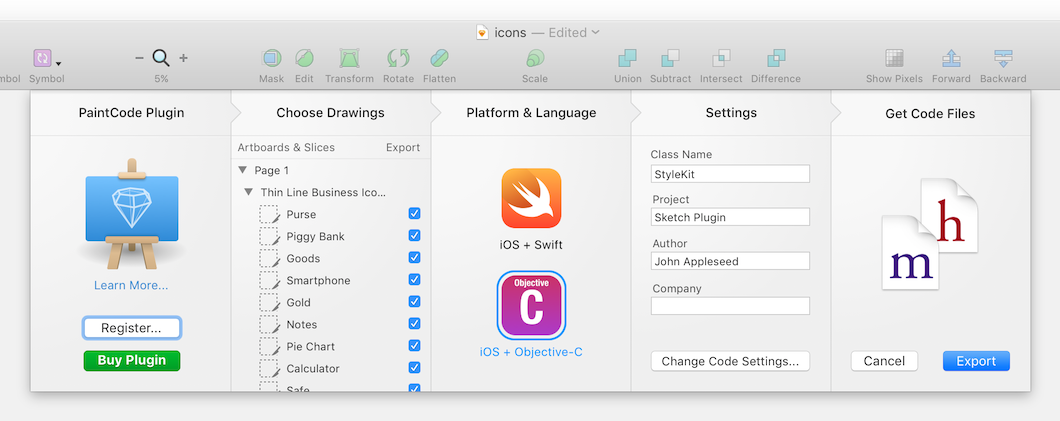
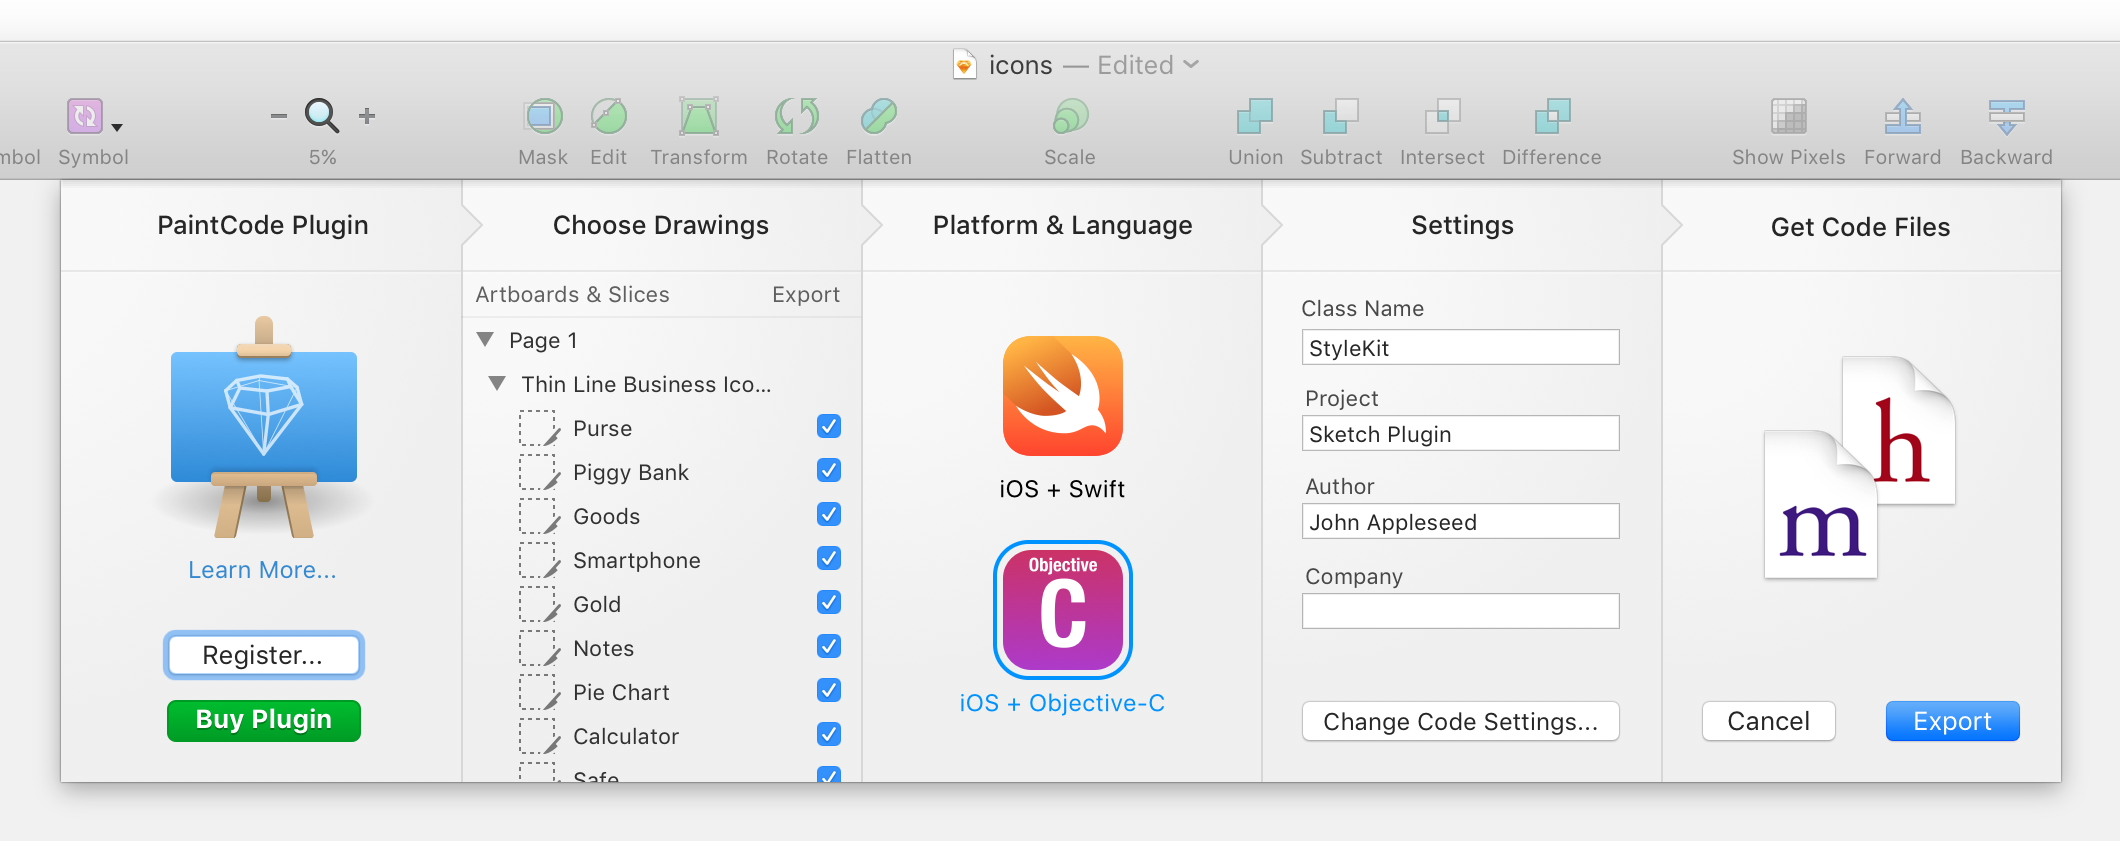
When you click the "PaintCode" menu item, the plugin's export sheet will appear. You can use the sheet to configure the code export.
Export settings
On the left side of the plugin sheet, you will find a list of all your pages, artboards and slices that can be exported to code. By clicking on the checkboxes, you can configure which drawings should be exported to code. Each drawing will have its own drawing method in the generated code. It is important that you name your slices, artboards and pages descriptively, because these names are used in the generated code.
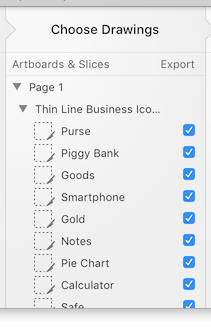
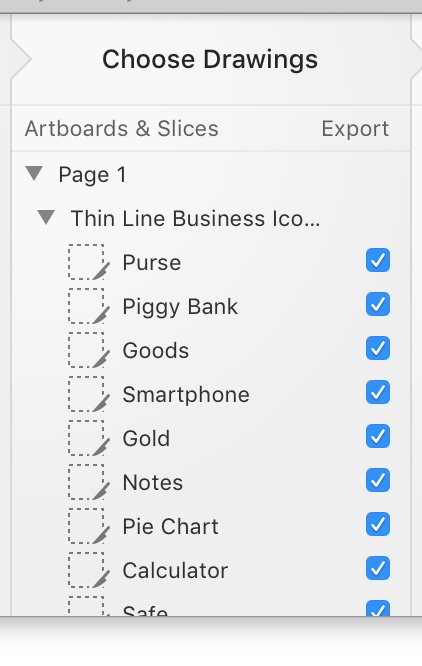
Note that individual artboards can only be exported if they do not contain any slices. Similarly, individual pages can only be exported if they do not contain any artboards or slices.
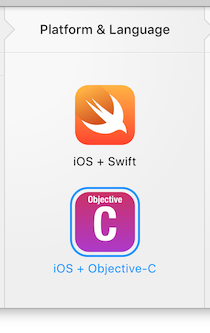
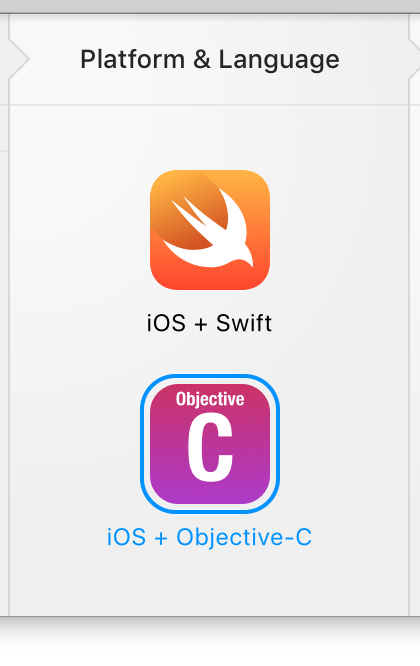
Moving further to the right, you can choose the platform and the programming language of the generated code. Currently, we only support Swift and Objective-C on iOS, but more code generators will be added in the future if there is enough demand for them.

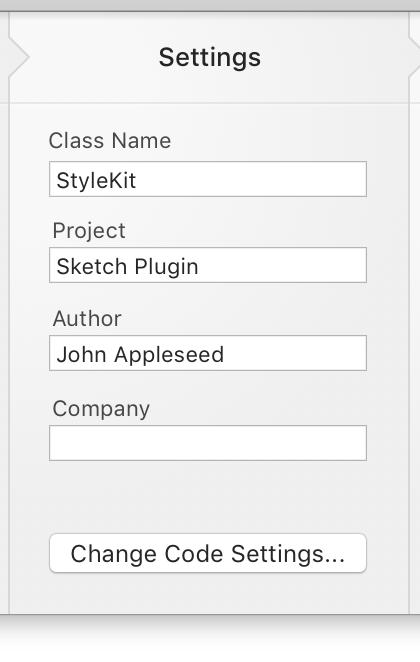
Next, you can fill out the class name, project, author and company. Filling out class name is important because this will be the name of the exported files, as well as the name of the class in the generated code. If you don't specify class name, "StyleKit" name will be used by default.
The author, company and project fields are only used for the copyright and author information that is generated at the top of each exported file. These are optional.
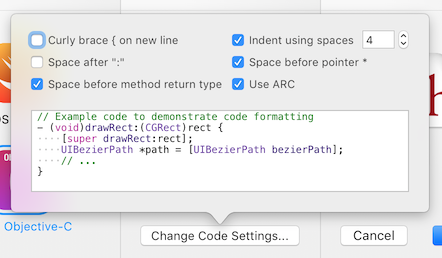
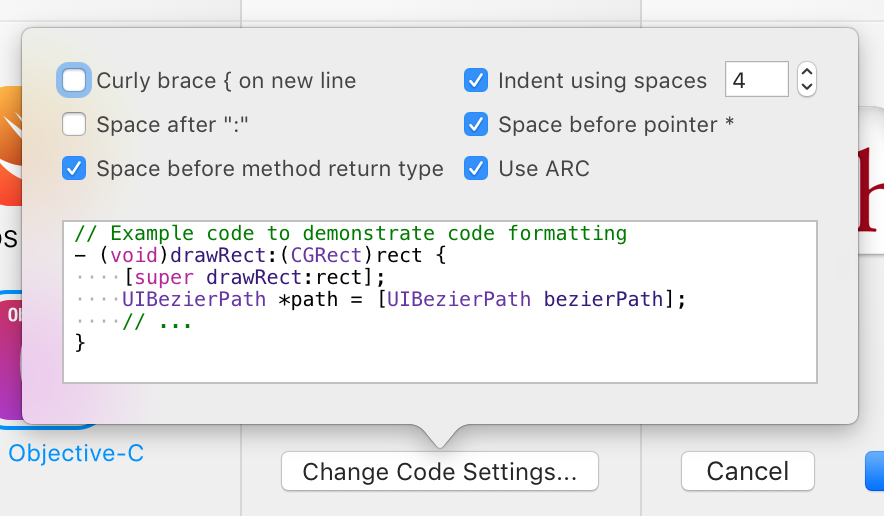
Additionally, you can also configure (mainly) formatting settings of the generated code by clicking on the "Change Code Settings..." button. A popover with several more options will appear:
Finishing the export
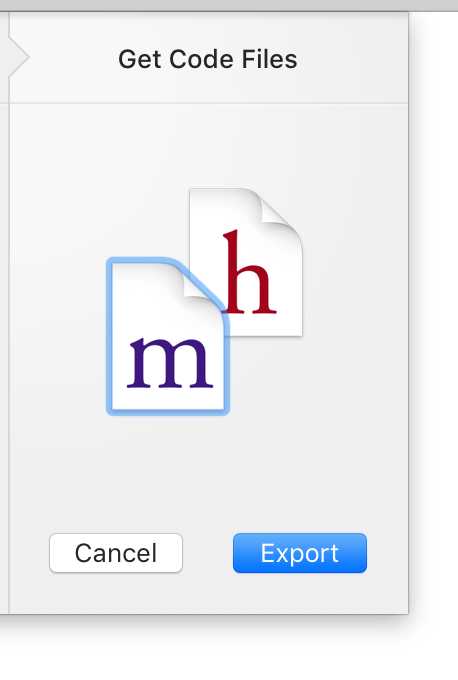
To finish the export, simply click on the "Export" button and choose the directory to which you wish to export the generated code files.
Alternatively, you can also drag & drop the code files directly from the export sheet.

Advanced tip: Library
You can also use Sketch to create colors, gradients and shadows that will be included in the generated code. This will allow the developer to use these colors, gradients and shadows in the actual app easily.
First, create an Artboard and rename it "Library".
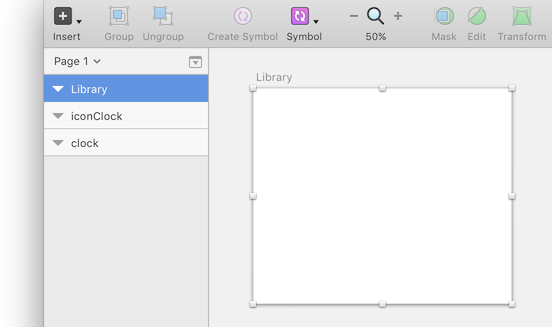
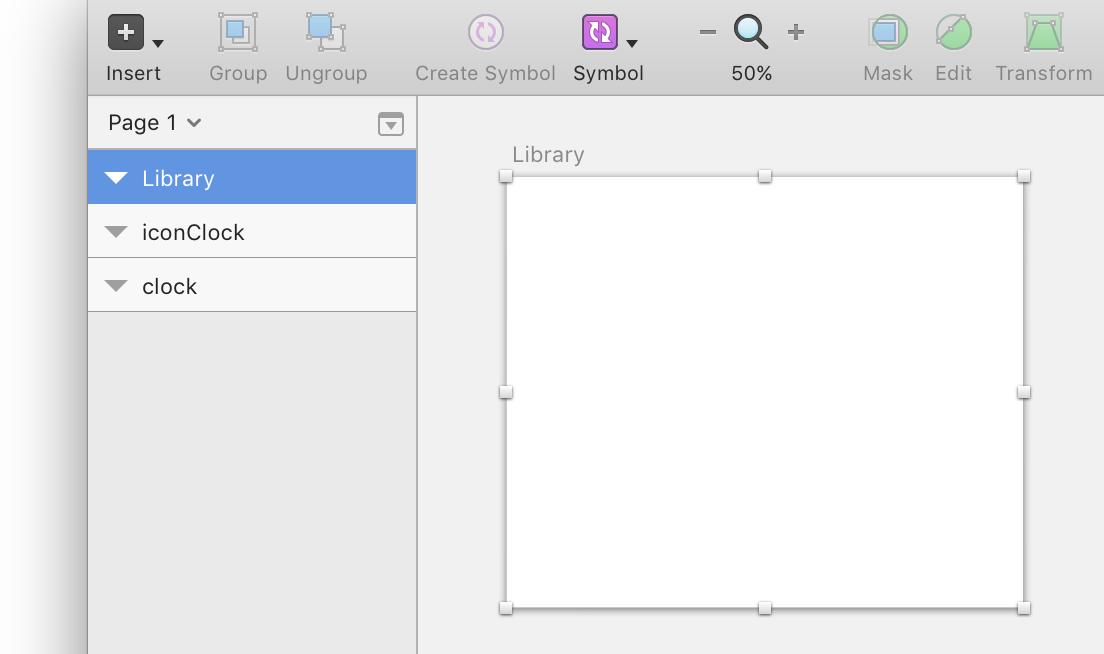
Next, place a new rectangle inside the Artboard. Rename the rectangle to something descriptive, like "Primary Color" or "Company Brand Color". Then, change the fill color of the rectangle to the desired color. Alternatively, you can also change the fill to a gradient. Whatever you choose, the fill (be it color or gradient) will become available to the developer in the generated code.
You can also create a named shadow in a similar way. Create a rectangle, name it, turn off its fill and stroke and set up its shadow. The shadow will also become available in the generated code.
It is not required that you use rectangles to define these colors. You can also use ovals, stars, beziers and polygons. Texts are ignored altogether, so you can use them to document your Library:
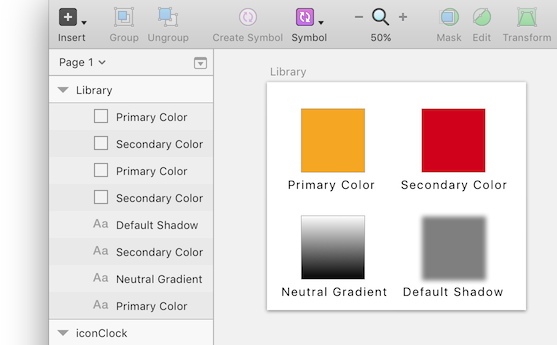
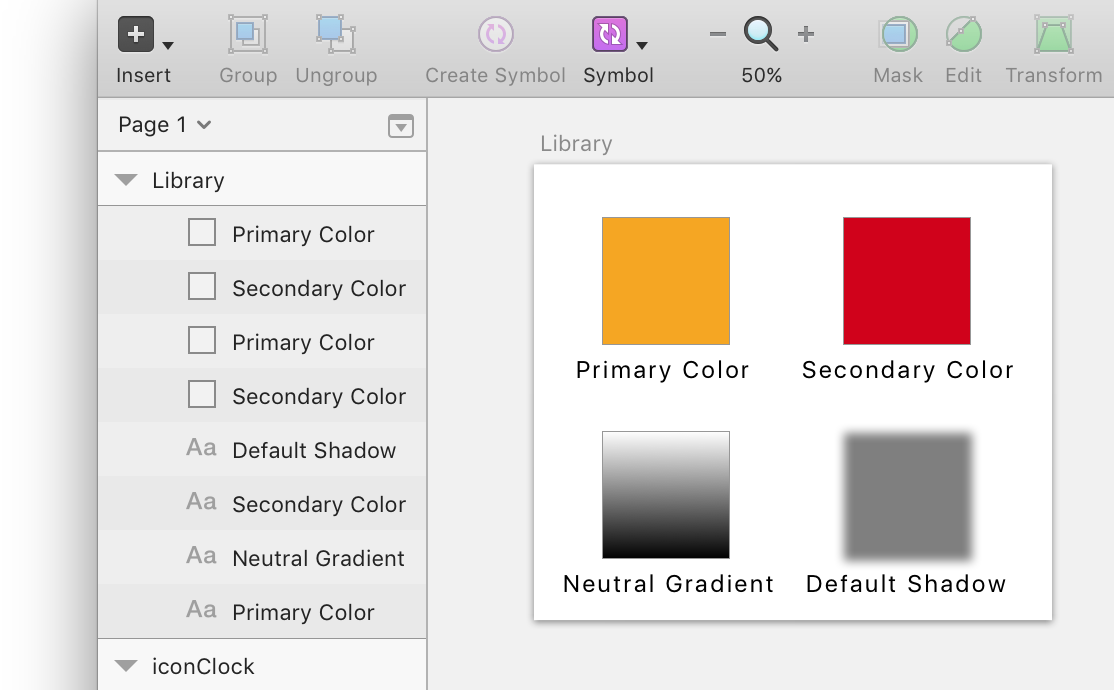
The colors, gradients and shadows that you create this way will be automatically included in the generated code, available to the developer for convenient use.
How to use the generated code
To learn more about how to use the generated code, please continue reading our second article.
