PaintCode Power User: Shapes
This post is a part of series PaintCode Power User.
The basic abstraction in graphic editors are layers, in PaintCode we call them Shapes. They encapsulate visual attributes, allow easy manipulation, and are composed together to achieve complex graphical results. In this post I will focus on fundamental property of Shapes – their shape.
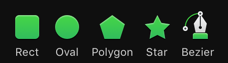
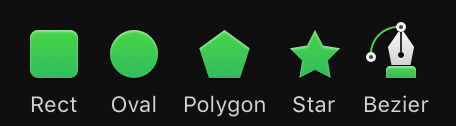
New Shape is created using toolbar buttons or Touch Bar.


Bounding Box
Every Shape has its bounding box, which defines primary area the Shape will cover. Some parts of the Shape may stay transparent and some drawing effects may exceed the bounding box.
Bounding box is usually defined using X, Y, Width and Height attributes. However, in more complex cases, also Rotation, Offset and Scale affect the bounding box.
Shape Kinds
Rectangle

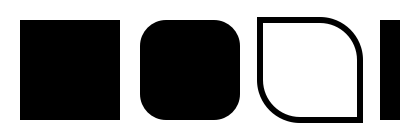
- Simplest of all shapes, it basically fills its bounding box.
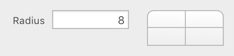
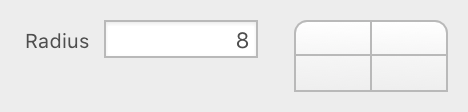
- It supports rounded corners and you can even pick which corners should be rounded and which stay sharp.
- Although there is a dedicated Toolbar button for Text, it’s not really a special kind of Shape. That button creates a Rectangle with no Fill, no Stroke, with only initial text content.
Oval


- Draws an ellipse that touches center of every side of its bounding box.
- Ellipse with equal width and height is a circle.
- This kind of Shape can also represent a segment of ellipse, by specifying Start Angle and End Angle attributes.
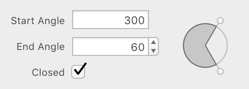

- Ellipse segment can be open or closed, there is a checkbox for that.
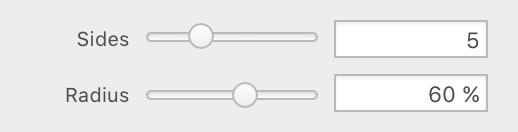
Polygon
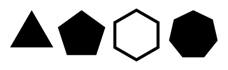
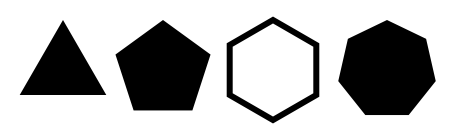
- Draws a regular shape with given number of sides. Simplest polygons are triangle and square, but more common are pentagon or hexagon.
- Center of Polygon matches center of bounding box, but its vertices may not always reach to sides of the bounding box.
- When bounding box is resized, Polygon is stretched, so its vertices lie on ellipse inscribed in the bounding box.
Star
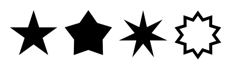
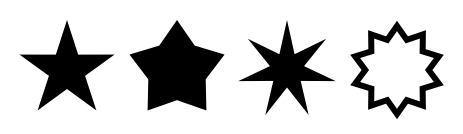
- Draws regular shape that has given number of spikes – imagine a star.
- Size of the inner circle is defined in proportion to the outer circle.

Bezier

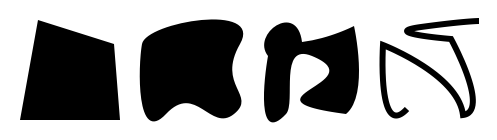
- Bezier is fully editable shape, which means all vertices can be positioned independently.
- Lines connecting vertices can be straight or curved. Curvature is controlled using virtual points.
Beziers will have a dedicated post about their properties and editing tips.
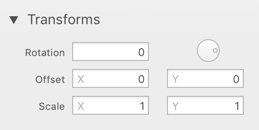
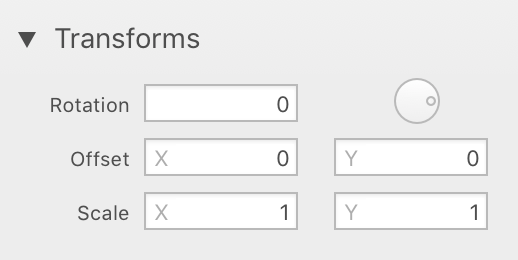
Transforms & Anchor
Transform is typically a name for three different operations: rotation, scale, offset. All 3 require a fixed point called anchor. In PaintCode, it’s the green cross with circle.
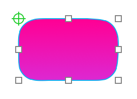
Initial position of anchor is in top-left corner of a Shape (or bottom-left for macOS target) and it’s hidden by default. To reveal it, expand Inspector section for Transform. Once you move it away from its initial position, it will be visible when the Shape is selected.
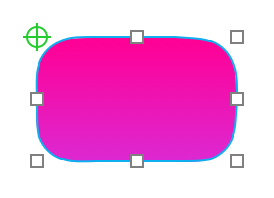
The easiest case of using anchor is with rotation. Anchor is the point around which the Shape rotates. You can move it to middle, you can move it out of the bounding box, and when you change Rotation, this anchor will stay at the same place.

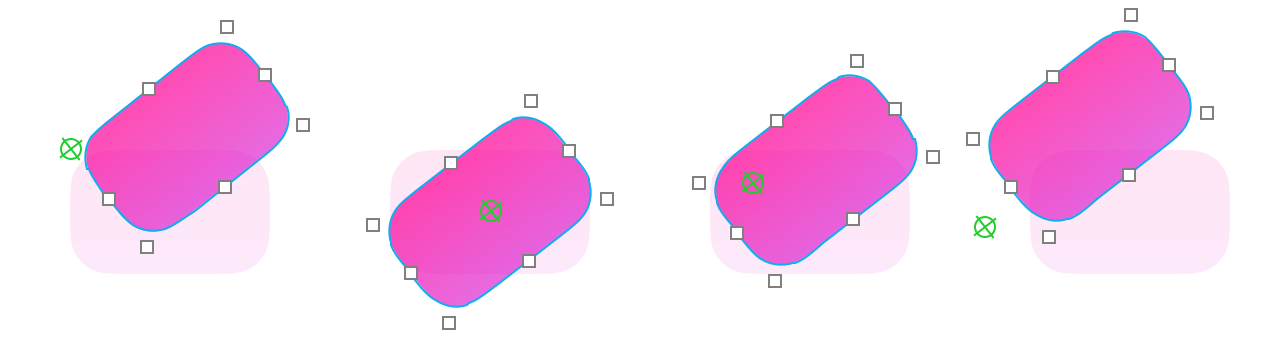
Relative position of anchor to the Shape’s top-left corner is expressed in Offset X and Offset Y attributes. To stretch a Shape, you use Scale X and Scale Y attributes, which also work relative to anchor.
To rotate quickly the selected Shape, hold ⌘ and drag one of the square controls used for resizing. In case the anchor is at its default place, it will be moved to middle.
Attributes Scale X and Scale Y also respect the anchor and they stretch the shape while preserving the anchor position. In fact, the familiar X and Y attributes of any shape are coordinates of its anchor. Attributes Offset X and Offset Y then specify the position of the shape relative to its anchor point. When dragging the green anchor indicator around, you may notice that all 4 attributes are changing simultaneously.
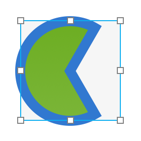
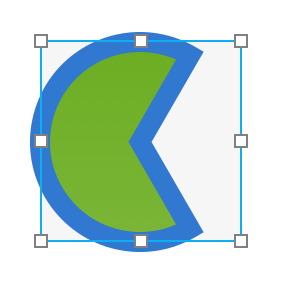
Outlines
And here’s one more trick for working with Shapes. If your drawing contains a lot of Shapes that cover each other and some are poorly visible, you may find useful to show only outlines and ignore their styling. This option is in menu Canvas ▸ Show Only Outlines.

To learn more about Shapes, see our Shapes documentation and Transforms documentation or watch a tutorial video.