Android
PaintCode generates drawing code for that you can use in your Android app development.
PaintCode produces methods that use android.graphics API to draw 2D graphics on provided canvas (android.graphics.Canvas).
So for example for this House Icon drawing:

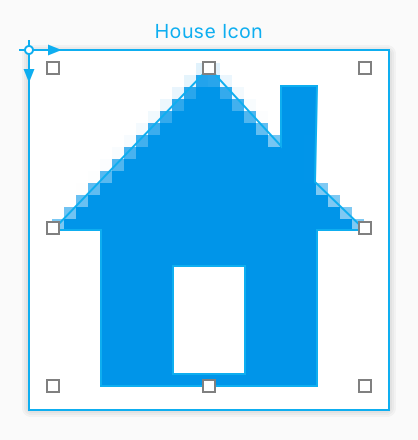
following code will be generated:
void drawHouseIcon(Canvas canvas) {
    // General Declarations
    Paint paint;

    // Local Colors
    int houseIconColor = Color.argb(255, 0, 149, 233);

    // Bezier
    RectF bezierRect = new RectF(2f, 1.5f, 28f, 28f);
    Path bezierPath = new Path();
    bezierPath.moveTo(18f, 18f);
    bezierPath.lineTo(12f, 18f);
    ...
    bezierPath.lineTo(21f, 8f);
    bezierPath.close();

    paint = new Paint();
    paint.setStyle(Paint.Style.FILL);
    paint.setColor(houseIconColor);
    canvas.drawPath(bezierPath, paint);
}
This is useful in various situations. One of them is implementing custom subclass of View class. In order to make the custom view draw the house icon, you can paste the method into the new View subclass and override onDraw like this:
@Override
protected void onDraw(Canvas canvas) {
    super.onDraw(canvas);
    drawHouseIcon(canvas);
}
StyleKit
Copying and pasting code from PaintCode into your Android project is fine for small experiments, but actually isn't that effective. For any project, where you need fast turnaround between design and implementation another approach is recommended.
PaintCode generates special Java class, we call it StyleKit. It contains all the drawing methods (some in multiple forms) and also collection of colors, gradients, shadows and images that you may also use in your Android project.
When you switch to StyleKit tab for the first time, you need to fill in Name and Package in Inspector:
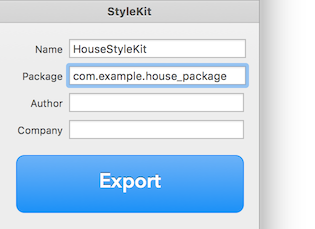
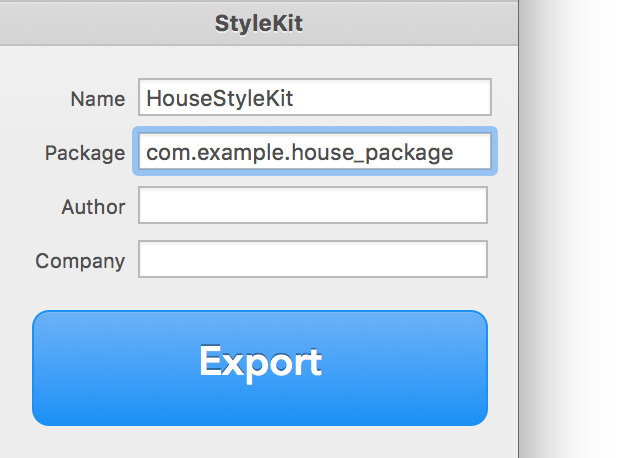
Package name will be used in header of the class and it'll also specify the correct folder into which the class will be saved within your Android project. Let's say your StyleKit is called HouseStyleKit and your package is com.example.house_package.
Click export and set main source directory.
<Android Project>/app/src/main
PaintCode will create the folder structure for the package, so it will save your class as:
<Android Project>/app/src/main/com/example/house_package/HouseStyleKit.java
If your StyleKit uses raster images, they will also get exported into folders according to their pixel density.
<Android Project>/app/src/main/res/drawable-mdpi
<Android Project>/app/src/main/res/drawable-xhdpi
<Android Project>/app/src/main/res/drawable-xxhdpi
Note that you only need to select the correct path once. After that whenever you hit Main Menu → File → Export Again (⌘R), your class and raster images will get updated. That's also a reason why you shouldn't change the generated resources manually. The changes will be lost after every re-export.
StyleKit makes the integration turnaround a matter of seconds. After changes are made in PaintCode file, simply hit ⌘R in PaintCode, then ⌘R in Android Studio and there it is — the updated design on the testing device.
The only change to previous usage example is the location of the drawHouseIcon method.
@Override
protected void onDraw(Canvas canvas) {
    super.onDraw(canvas);
    HouseStyleKit.drawHouseIcon(canvas);
}
Parametric drawing
When your drawing is parametric (uses Variables, Frames, parametric colors, etc) the method signature contains more attributes, the method signature contains more parameters.
public void drawHouseIcon(Canvas canvas, int iconColor) {
   ...
}
Custom view with attributes
The custom view can improved so that its attributes can be changed in your layout. If the custom view is called HouseView, following file has to be edited:
<Android Project>/app/src/main/res/values/attrs_house_view.xml
to contain an attribute (let's call it fillColor):
<resources>
    <declare-styleable name="HouseView">
        <attr name="fillColor" format="color" />
    </declare-styleable>
</resources>
Lastly implementation of the custom view has to be updated so that the attribute gets loaded during initialization:
public class HouseView extends View {
    private int mFillColor = Color.RED;

    public HouseView(Context context) {
        super(context);
        init(null, 0);
    }

    public HouseView(Context context, AttributeSet attrs) {
        super(context, attrs);
        init(attrs, 0);
    }

    public HouseView(Context context, AttributeSet attrs, int defStyle) {
        super(context, attrs, defStyle);
        init(attrs, defStyle);
    }

    private void init(AttributeSet attrs, int defStyle) {
        // Load attributes
        final TypedArray a = getContext().obtainStyledAttributes(
                attrs, R.styleable.HouseView, defStyle, 0);

        mFillColor = a.getColor(
                R.styleable.HouseView_fillColor,
                mFillColor);

        a.recycle();
    }

    ...
}
From now on the custom view has new attribute fillColor that can be used in layout like this:
    <view
        class="com.pixelcut.houseproject.HouseView"
        android:id="@+id/view"
        app:fillColor="@color/colorPrimary"
        android:layout_width="wrap_content"
        android:layout_height="wrap_content" />
Also available in the Design tab


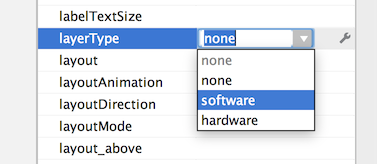
Type of Layer
Views are rendered using hardware layer type by default. This type may be faster in some instances, but it doesn't support blur (used in shadows) and scaling. So in order to make the rendering accurate you need to change the layerType property to software.

Context
If you use custom fonts or raster images, StyleKit needs a to refer to the files. In both cases it needs an instance of Context class. In order to provide it, you need to set static property called context. For example during initialization of your activity.
@Override
protected void onCreate(Bundle savedInstanceState) {
    super.onCreate(savedInstanceState);
    setContentView(R.layout.activity_main);
    HouseStyleKit.context = getApplicationContext();
}
Scale
There are two approaches to scaling. You can use resizing drawing methods. Resizing variant of drawing method is the same drawing method, but it has two more arguments: target rectangle (of type RectF) and resizing behavior. ResizingBehavior is an enum type defined in StyleKit. The values are:
- AspectFit
- AspectFill
- Center
- Stretch
This is an example of usage of such method on parametric drawHouseIcon method:
HouseStyleKit.drawHouseIcon(canvas,
    targetRectangle,
    HouseStyleKit.ResizingBehavior.AspectFit,
    Color.BLUE);
If you just want to take display pixel density of the device into account, you can scale the canvas before calling the drawing method:
@Override
protected void onDraw(Canvas canvas) {
    super.onDraw(canvas);

    float displayDensity = getResources().getDisplayMetrics().density;
    canvas.scale(displayDensity, displayDensity);

    HouseStyleKit.drawHouseIcon(canvas);
}
Vector drawables
Vector drawables are considered to be images similarly to SVGs. Please check Image Export section.