Images
There are situations when you just have to use images. For example, you may want to include real-life photos in your designs. We've added support for images to PaintCode to let you do just that:
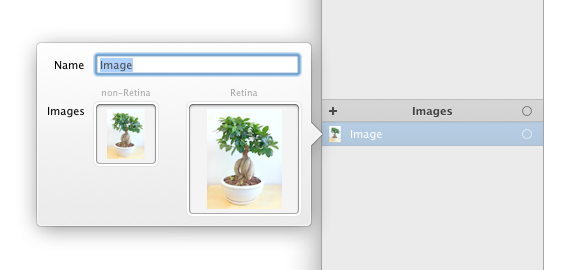
The “Images” Library section lets you create and manage images. You can provide both Retina and non-Retina versions of your images.
The most convenient way to import images to your document is to select them in Finder and drag & drop them to the Library section. PaintCode will automatically pair non-Retina and Retina versions of the same image for you during the importing process. If you do not use the @2x naming convention, PaintCode will even analyze the content of the images to do the pairing.
Alternatively, you can also import images by:
- using the File / Import menu
- drag & dropping an image to an image well in the image editing popover
- double-clicking an image well in the image editing popover
Using an image
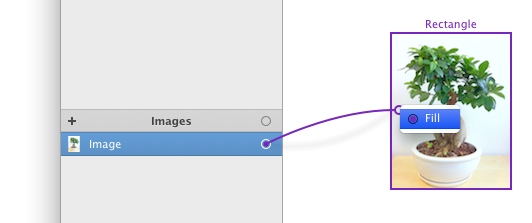
All shapes can be filled with an image. On way is to simply click & drag the image's connection dot onto a shape on the canvas:
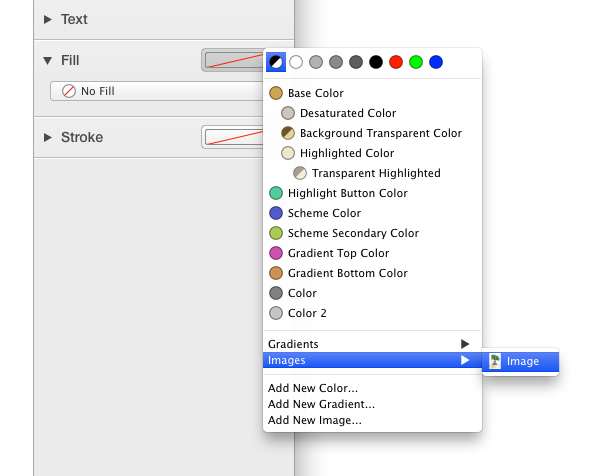
Alternatively, when the fill well in the Inspector is empty, you can click on it to show the context menu with all available fills:
Finally, you can just pick the right fill using the fill popup button in the Inspector:
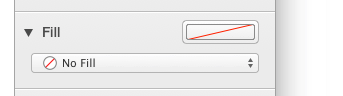
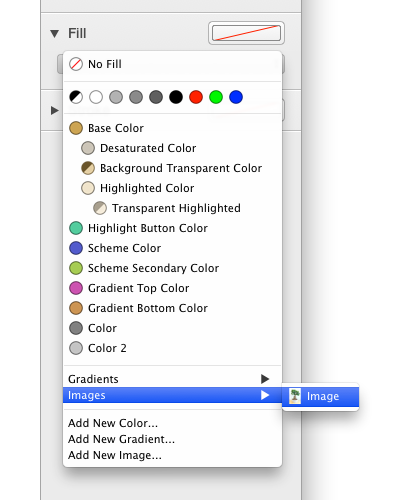
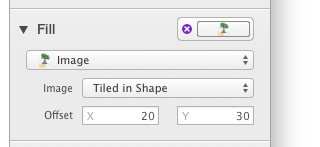
Image Fill Behavior
You can choose between 3 alternative behaviors of the image fill:
- “Single”
- “Tiled in Shape”
- “Tiled in Background”
In addition, you can also specify the X and Y offset of the image.
Normally, the non-Retina alternatives of your images are used in the drawing canvas. However, when you turn on the Retina mode in PaintCode, the Retina alternative will be used. The generated code is universal in this regard and will work equally well on both Retina and non-Retina displays (if you provide the necessary images in your project, of course).
All the images you import to PaintCode are stored inside the PaintCode document, so you don't have to worry about keeping track of those when sending PaintCode documents to other designers and/or developers. You can export all of these images back to disk at once by using the new export feature.