Gradients
Gradients can be used to fill rectangles, rounded rectangles, ovals, béziers, stars and polygons. PaintCode supports multi-step gradients. You can also choose between linear (defined by an angle or two points) and circular gradients. Gradients depend on the colors they use, and when these colors are adjusted, the gradients are also updated accordingly.
Using a gradient
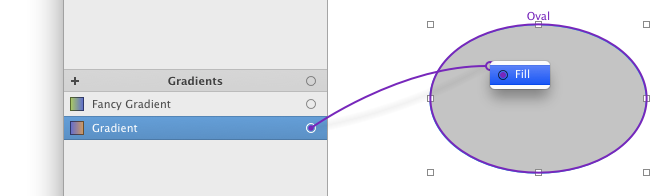
To use a gradient, click & drag gradient's connection dot onto a shape on the canvas:
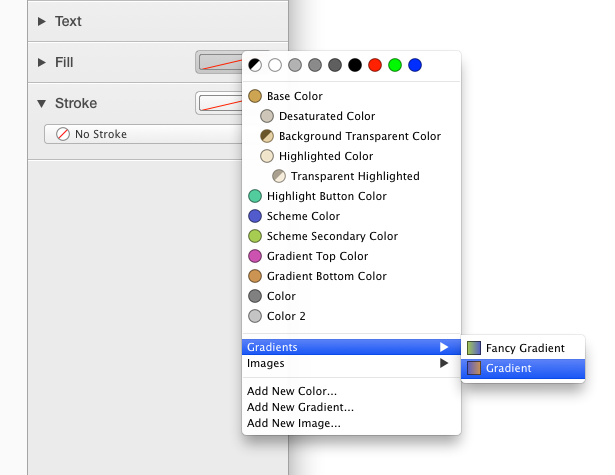
Alternatively, you can simply click on an empty stroke or fill well in the Inspector and choose a gradient from the context menu:
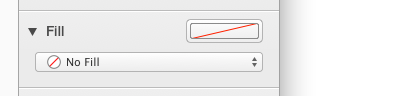
To use a gradient, select it from the fill popup button menu:
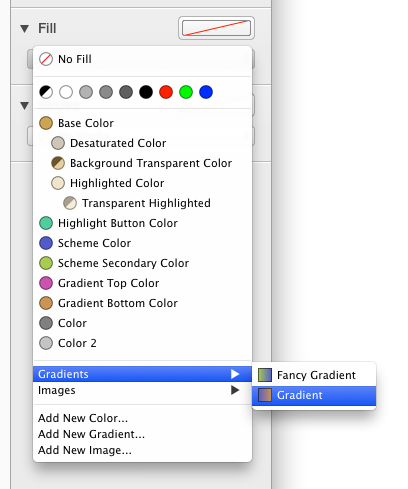
This menu is automatically populated with your Library colors and gradients.
Adding a new gradient
There are 2 basic ways of adding a new gradient:
- Click on the “+” button at the top of the gradient list in the Library
- Click on the “Add new gradient...” menu item in the fill popup menu. This also sets the newly-created gradient as a fill.
(note that you can also add gradients by copying and pasting shapes that use gradients from another document)
Editing a gradient
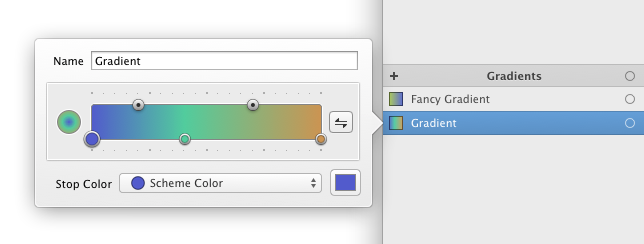
You can edit a gradient by double-clicking on it in the library.
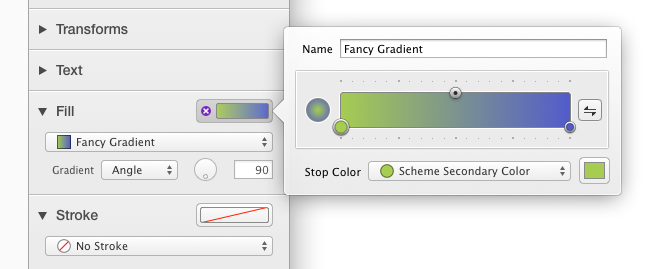
Alternatively, you can click on a gradient well in the Inspector to show the edit color popover.
The text field contains the name of the gradient. PaintCode generates all names for you, but you can always change them to be more descriptive.
The popover contains a special gradient control. Using it, you can specify the positions of individual colors in the gradient.
Changing gradient color value
To change a color in the gradient, click on a color knob at the bottom of the gradient control. Then, select the desired color from the color popup button below the gradient control.
Adjusting color value conveniently from gradient popover
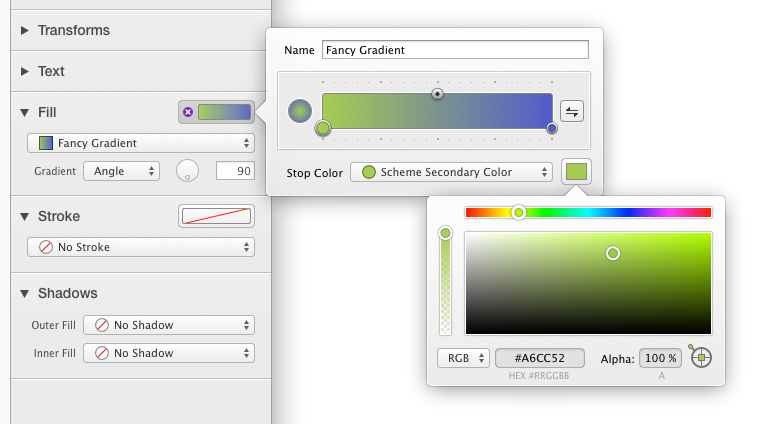
Sometimes, you need to adjust the shade of a color in the gradient. You can always close the gradient popover, open the color popover and adjust the color there, but this is inconvenient. It is possible to adjust a basic color using the color well at the right side of the color popup button, right from the gradient popover.
Adding a new color directly from gradient popover
If the color you are trying to adjust using the color well in the gradient popover isn't a basic color (i.e. it is a system color or a derived color), a new basic color is created and automatically replaces the old color.
Adjusting gradient color position
To adjust the position of a color in the gradient, simply drag the color knob to the desired position. To position the knob to some of the predefined positions, hold the SHIFT key while dragging it. The predefined positions are represented by tick marks.
Alternatively, you can fine tune the position of the selected knob using the LEFT and RIGHT arrows on your keyboard.
Adjusting linearity between colors
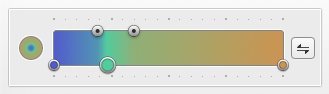
It is also possible to alter the progression of the gradient between two neighboring colors by dragging the knobs at the top of the gradient control.
Adding more colors to a gradient
You can add more colors to a gradient by double-clicking at the desired position in the gradient control. A black color is added to the gradient, which can be easily replaced (by choosing a different color in the popup button) or adjusted later.
Removing color from a gradient
To remove color from a gradient, select the corresponding color knob in the gradient control and press the DELETE key. Note that this only removes the color from the gradient, not from the Library.
Drawing linear gradients
After selecting a gradient from the fill popup button menu in the Inspector, you can choose the “Angle” gradient option. 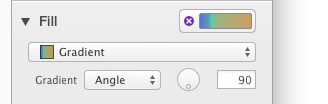
To adjust the angle of the gradient, you can either input the angle directly to the text field, or use the circular slider control. By default, the circular slider snaps to multiples of 45 degrees. You can suppress this by pressing down the OPTION key while dragging.
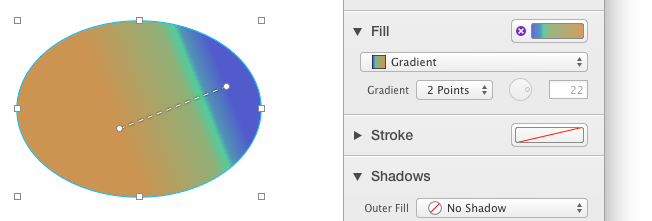
If you want to specify the start point and the end point of the gradient manually you can do so by choosing the “2 Points” gradient option. A two point gradient editing interface automatically appears in the Canvas. This interface is visible whenever you select a shape with two point gradient fill, and the Fill Inspector box is opened.
Drawing circular gradients
To draw a circular gradient, you have to choose the “Circular” gradient option.
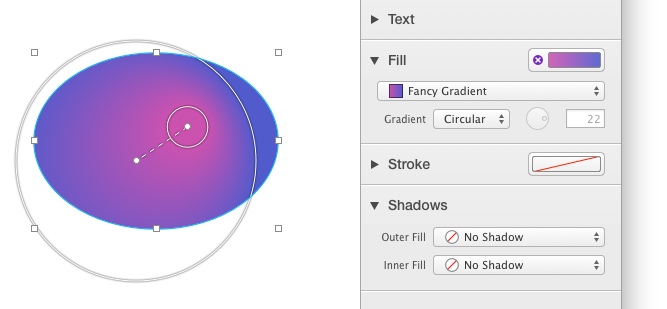
A circular gradient editing interface automatically appears in the Canvas. This interface is visible whenever you select a shape with circular gradient fill. It consists of two circles, each representing one “end” of the circular gradient.
You can drag the center of either of these circles to a new position. In addition, you can also adjust the size of the circles. Just click anywhere on the diamater of the circle and drag.
By default, the center and the diameter of both circles snaps to the edges of the edited shape. To suppress this, hold down CONTROL key.