JavaScript
With PaintCode 3, you can now generate JavaScript code. This code can be used to draw into HTML <canvas> elements on your website.
This is a great way to add dynamic and interactive drawings to your website. For example, most of the animated and interactive graphics on our title page and what's new page were creating using JavaScript export from PaintCode.
The generated code is also resolution-independent, so the drawings will appear sharp and crisp on all kinds of displays and pixel densities.
We've prepared an example project for you: Download example
PaintCode exports a single JavaScript file we call "StyleKit". This JavaScript file contains all your PaintCode drawings (you can have multiple drawings in a single PaintCode document).
To learn more about StyleKits, please see the StyleKit documentation.
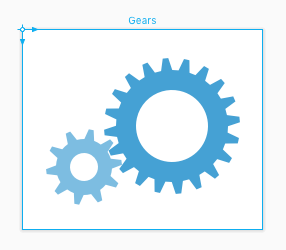
Imagine we draw a gear icon in PaintCode, like this one:
Let's switch to the "StyleKit" tab in PaintCode.
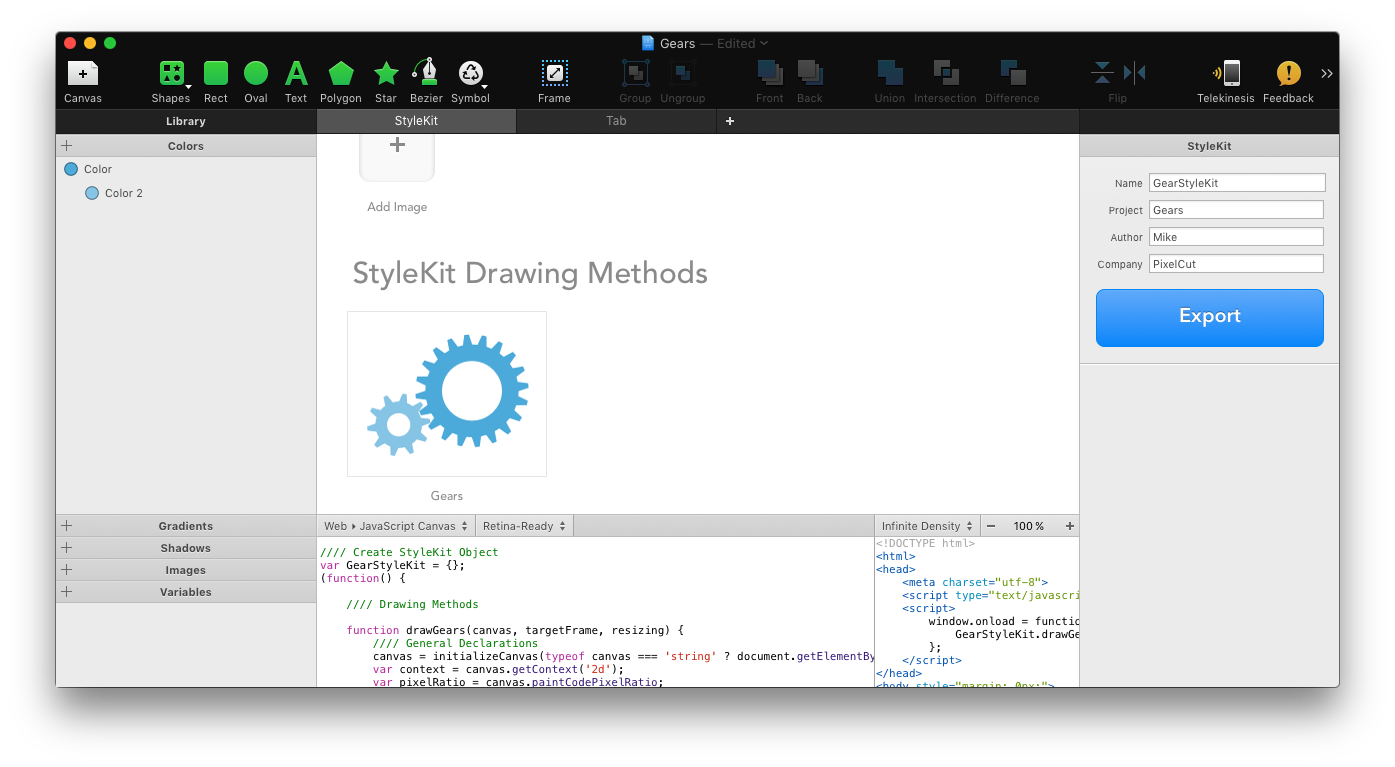
In the middle, you can see a catalog of all drawings available in your StyleKit. In this case, there is only one drawing available, the "Gears" drawing.
Below the catalog, you can see the generated code. On the right, there are several StyleKit settings in the inspector:
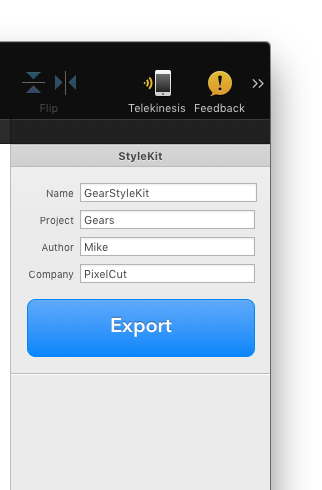
These are important, so make sure you fill them up correctly before exporting the generated code.
The "Name" attribute is the name of the StyleKit JavaScript object that will be available to you in your JavaScript code after you import the code generated by PaintCode. You can also see it being created in the generated code:
  //// Create StyleKit Object
  var GearStyleKit = {};
(the GearStyleKit object is later filled-in with useful methods)
At the top of the generated JavaScript code, you'll find comprehensive documentation of all methods available to you from the StyleKit object:
//// APIs you can use in your code:
//
// Available methods for drawing into <canvas> elements:
//    GearStyleKit.drawGears(canvas, targetFrame*, resizing*)
//
// ...
//
// Available Utilities:
//    GearStyleKit.clearCanvas(canvas)
//    GearStyleKit.makeRect(x, y, width, height)
As you can see, there is a "drawGears" method available in this StyleKit object. Let's look at how you would actually use this method on your website.
Using the StyleKit Object
First, you need to have at least a very simple HTML code to test this out:
  <!DOCTYPE html>
  <html>
  <head>
      <meta charset="utf-8">
      <script type="text/javascript" src="GearStyleKit.js"></script>
  </head>
  <body style="margin: 0px;">
      <canvas id="mainCanvas" width="240" height="200"></canvas>
  </body>
  </html>
Import the generated StyleKit JavaScript file and make sure you have a <canvas> element in your HTML document.
Now, let's add code for actually drawing the House Icon into the <canvas> element:
<script>
    window.onload = function() {
        GearStyleKit.drawGears('mainCanvas');
    };
</script>
Simple. We just call the drawHouseIcon on the GearStyleKit object, and it works. The first argument of these drawing methods is always the canvas into which you wish to draw. You can either pass the ID of the canvas here as a string, or you can pass the canvas object itself, like this:
var canvasElement = document.getElementById('mainCanvas');
GearStyleKit.drawHouseIcon(canvasElement);
You may have noticed there are two more optional parameters of the drawing method:
// GearStyleKit.drawGears(canvas, targetFrame*, resizing*)
These are marked with the * symbol in the documentation at the top of your StyleKit file, which indicates they are optional.
Target Frame and Resizing Behavior
By passing a custom rectangle object as a targetFrame parameter, you can draw into a custom rectangle. Here's how to do this:
GearStyleKit.drawGears('mainCanvas', GearStyleKit.makeRect(10, 20, 100, 200));
The makeRect method is a utility method available in all generated StyleKits.
The resizing parameter indicates how the drawing should fit into the specified rectangle. Here are the possible values of the resizing parameter:
- 'aspectfit'
- 'aspectfill'
- 'stretch'
- 'center'
To learn more about this, please see our Resizing Methods documentation. Here's how you would use this in your code:
GearStyleKit.drawGears('mainCanvas',
                       HouseStyleKit.makeRect(10, 20, 100, 200),
                       'aspectfit');
Making Your Drawings Parametric
To make your drawing parametric, use Variables and Expressions. You can even make a Parametric Color, Gradient, Shadow or Image. These variables and parametric colors, gradients, shadows and images will automatically appear as additional parameters of your generated drawing methods. Below, you can see the 'angle' parameter added to the 'drawGears' method after we added 'angle' variable to the drawing:
// Available methods for drawing into <canvas> elements:
//    GearStyleKit.drawGears(canvas, angle, targetFrame*, resizing*)
Making Animations with StyleKit
To create animation or interactive UI element, you need to draw into <canvas> element repeatedly to achieve the illusion of movement. Unfortunately, when drawing into <canvas> element, the drawings are accumulated by default — new drawings are drawn on top of the old ones, which is undesirable in most cases.
To work around this issue, every generated StyleKit has a 'clearCanvas' utility method available. For example, here's how you would properly re-draw the canvas element every time user moves the range/slider element on a website:
<form>
    <input type="range" id="angleRange" name="angle" min="0" max="360">
</form>
<script>
    var range = document.getElementById("angleRange");

    range.oninput = function() {
        GearStyleKit.clearCanvas('mainCanvas');
        GearStyleKit.drawGears('mainCanvas', range.value);
    }
</script>
Notice that 'clearCanvas' method is called before the drawGears method.