Shapes
Creating a new shape
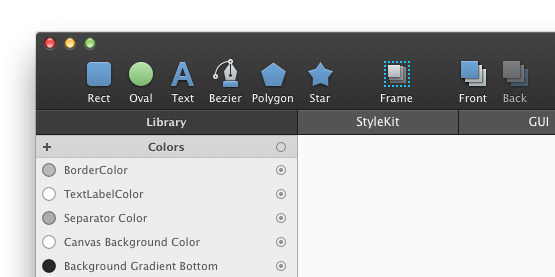
- First, select the desired shape from the toolbar.
- Click anywhere in the Canvas and keep holding the mouse button down.
- Drag the cursor away.
- When you are satisfied with the size of the shape, release the mouse button.
The point where you push the mouse button down and the point where you release it will become the opposite corners of the newly-created shape (except for the bezier).
PaintCode will automatically try to snap your new shapes to other shapes. You can suppress this behavior by holding down the COMMAND key.
Creating a shape with equal width and height
To draw a perfect circle, square, regular polygon or a star, hold down the SHIFT key while creating it.
Renaming a shape
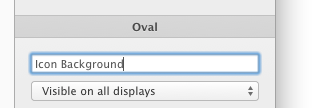
PaintCode generates shape name for you, but you can (and probably should) provide your own, more descriptive name. This name is used in the generated code.
To change a name of a shape, just select the shape and enter a new name in the Inspector.
Deleting a shape
To delete a shape, select it and press the DELETE or BACKSPACE key.
Moving a shape
You can move any shape by dragging it with your mouse. The shape will snap to other shapes to help you with the alignment.
To suppress this snapping behavior, hold down the COMMAND key.
By default, PaintCode will try to keep you shape sharp by snapping it to the point grid. When you hold down the OPTION key, the shape will snap to half-point coordinates instead. Additionally, you can hold down the CONTROL key, which suppresses the snapping behavior altogether.
Moving a shape using keyboard
You can move the selected shape using the ARROW keys. By default, this will move the selection by a single point in the desired direction.
To move the selection by half a point, press OPTION + ARROW.
To move the selection by 10 pixels, press SHIFT + ARROW.
Resizing a shape
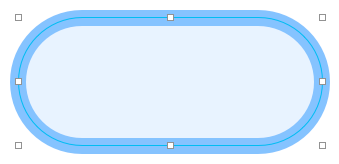
To resize a shape in a particular direction, click and drag the corresponding control point. PaintCode will aid you by snapping to other shapes.
To suppress this snapping behavior, hold down the COMMAND key.
PaintCode will also try to maintain the sharpness of your shape by properly aligning it to the point grid. Hold down the OPTION key to use half-point grid instead. To suppress the snapping behavior altogether, hold down the CONTROL key.
To maintaing the aspect ratio of the shape when dragging one of the corner control points, hold down the SHIFT key.
Setting a fill or stroke
There are three ways to assign a colors to the fill and stroke of your shape. Note that in case of the fill, you can also assign gradients and images in a similar way.
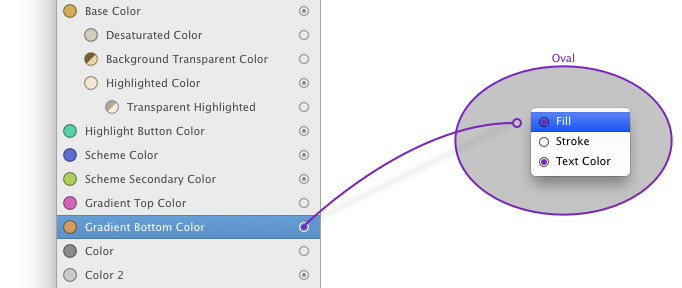
First way is to click & drag the color's connection dot onto a shape in the canvas, then select the attribute to which you want to connect the color. The connection dot is displayed next to your color in the Library. If the color isn't actually used in your document, an empty circle is displayed instead.
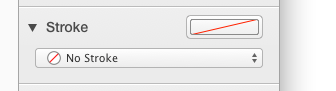
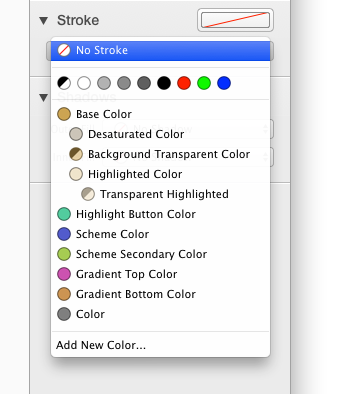
Another way to use color is to use the stroke or fill well in the Inspector. When the well is empty, it means that the attribute (stroke or fill) is not set. After you click on the well, a contextual menu appears that allows you to choose the color you want to use. The contextual menu is populated with items from your Library. It also contains the system colors at the top.
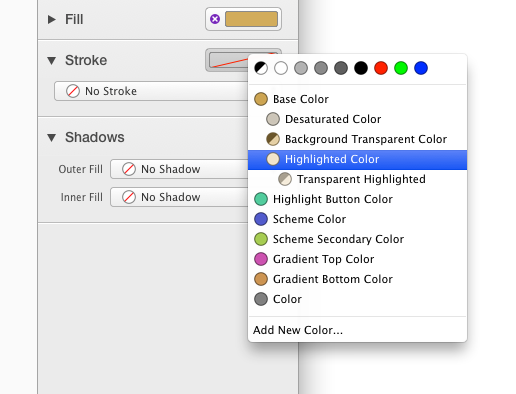
By the way, to stop using acolor in your shape, simply click on the purple X circle on the left side of the well in the Inspector.
The third way to use a color is to select it from a color popup button menu:
All these ways of assigning a color are equivalent - you should use whichever is the most convenient. The same approach can be used to assign gradients and images.
Setting a shadow
In PaintCode, you can set the shadow of fill, stroke and text separately. In case of fill and text, you can also set the inner shadow.
These options become available in the shadow box in the Inspector, once you set the fill, stroke or text (when the fill is not set, it is not possible to set its shadow - the same goes for stroke and text).
To use a shadow, click & drag the shadow's connection dot onto a shape on the canvas.
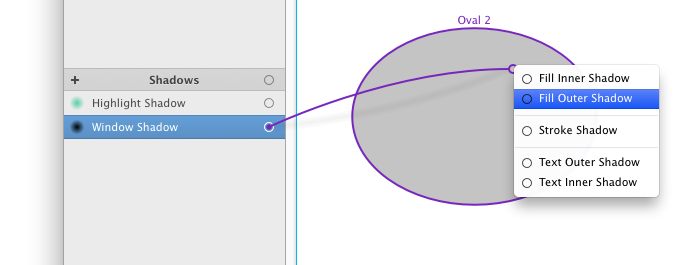
Alternatively, you can select a shadow from a shadow popup button in the Inspector.
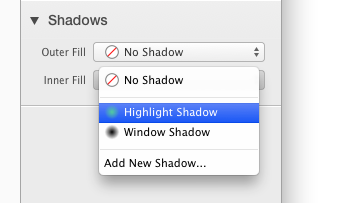
These menus are automatically populated with shadows from your Library.
Opacity and Blend mode
Opacity and blend mode can also be changed. They affects how the shape is drawn over the underlying graphics. See Apple's blend mode documentation for more information.


Copying style of another shape
It is often convenient to create a new shape that has the same “style” as some other, already drawn shape. First, select the shape with style you want to copy. Then, create a new shape. The newly-created shape will automatically match the style of the previously-selected shape.
Flipping a shape
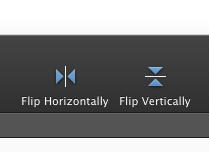
To flip a shape horizontally or vertically, click on the appropriate icon in toolbar.
You can also use the application menu option “Selection / Flip Horizontally” and “Selection / Flip Vertically”.
Contracting and expanding a shape
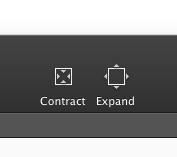
When you contract a shape, its sides are pushed inwards by a single pixel. Expanding a shape does the reverse. To contract or expand a shape, click on the corresponding icon in the toolbar.
Alternatively, you can use “Selection / Contract” and “Selection / Expand” application menu options.
Converting shape to a bezier
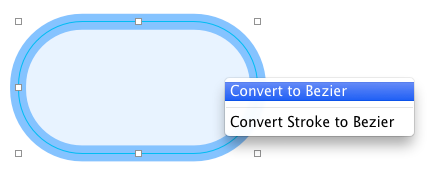
You can convert any shape to a bezier shape. Bezier shapes are sometimes more useful, because you can edit and rotate them.
To convert shape to a bezier, select the shape and choose “Selection / Convert to Bezier” from the application menu. You can also do the same from the Canvas context menu.
Editing shape
Content of some shapes (such as Texts, Béziers and Groups) can be edited. To edit these shapes, you can use double-click or press RETURN.